
The steps to dye the cat shirt
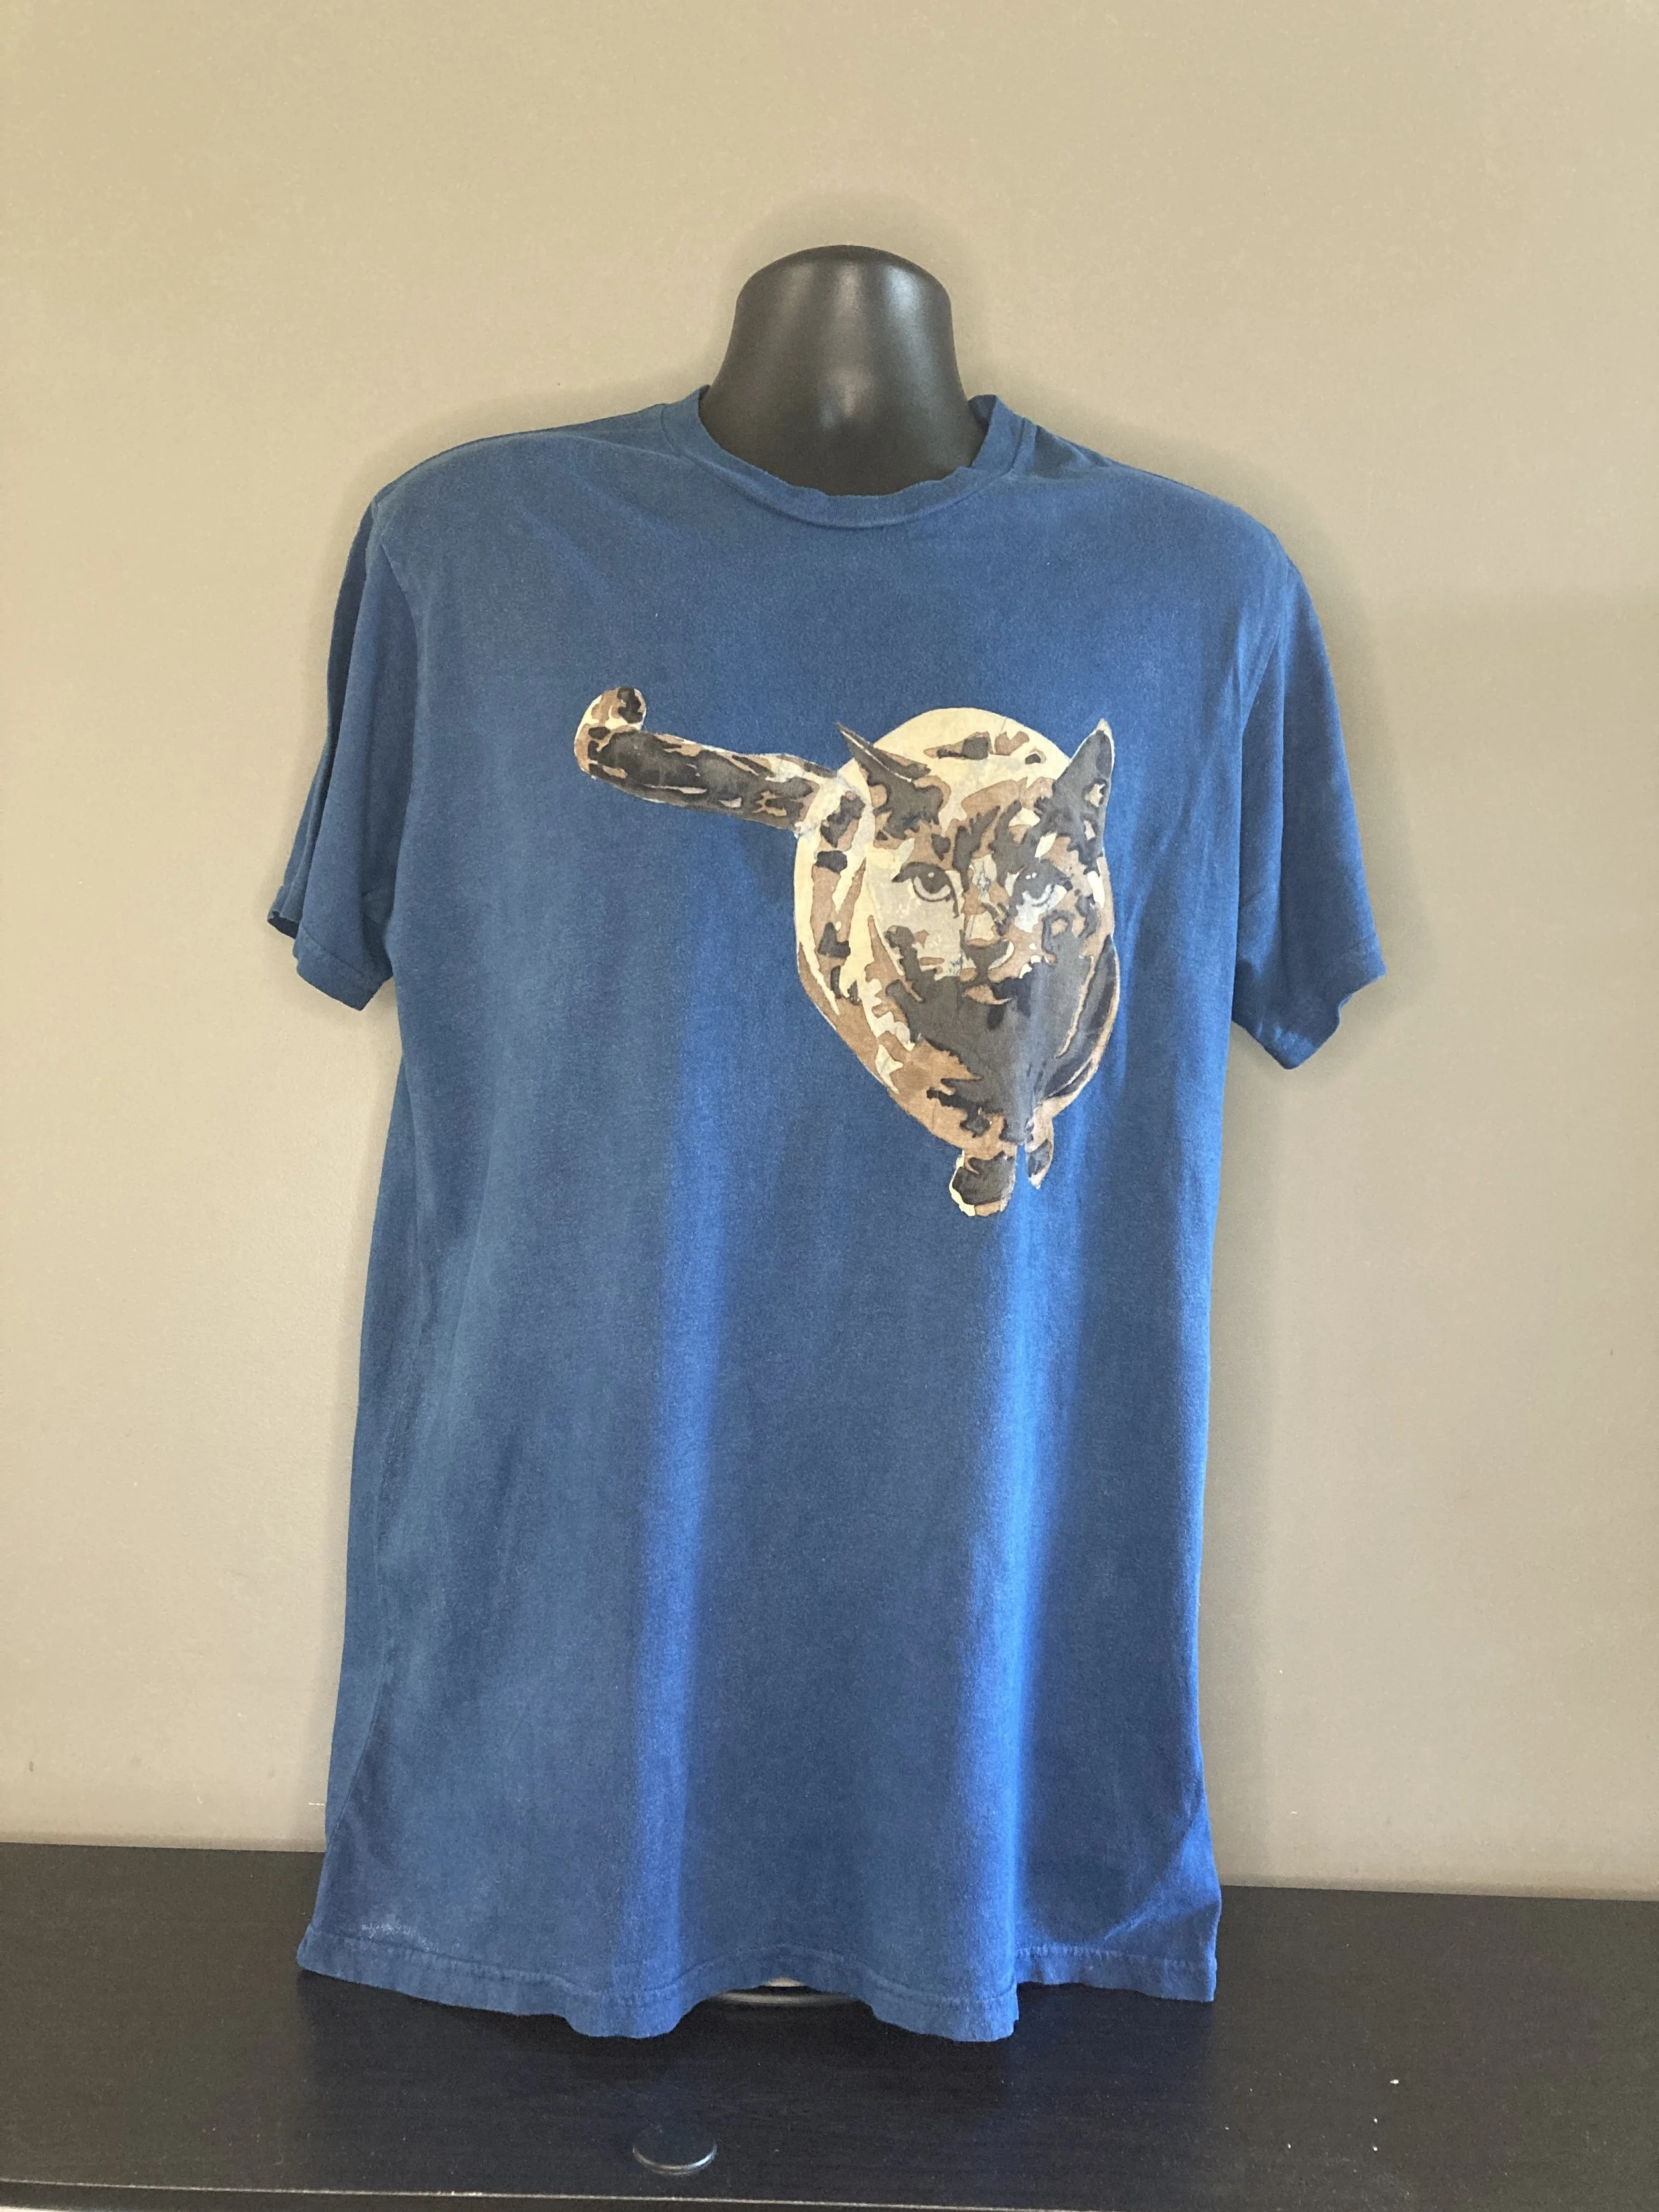
Didn’t realize there were so many steps until I started to write them down!
Scour the shirt: All the techniques require that the fabric is ready to accept the dye. The fabric may have oils, starch, fat, fingerprints, dirt, grime, and all sorts of impurities on them, acquired in the manufacturing process and/or transporting process. So, you need to scour the fabric. Scouring is usually done with hot water and soda ash, but you may need to do more (use lye) for heavily soiled fabric.
Mordant the shirt: Since the shirt is made of cotton and cotton does not have a high affinity with natural dyes, some help is needed. This help comes in a form of aluminum sulfate. Note that aluminum sulfate is often used in water treatment plants to clean water.
Dye extraction (if applicable): Boil and extract the dye. Crush the plant matter as finely as you can make them, boil and strain them several times. This process will extract the dye which is water-soluble.
Dye the shirt (base color): Heat up the vat with the mordanted shirt in it.
Stencil in the dark tones: I use either tannin black or kakishibu with carbon.
If tannin was used in step 5: Apply ferrous sulfate to darken it. Note that ferrous sulfate is what will be prescribed to you when you have iron deficiency anemia.
Apply kakishibu: Use the second stencil to apply kakishibu. Kakishibu is a wonder material from Japan. It is made by putting unripened persimmon fruits into a jar and leave it for 3 years.
Apply kata-paste (starch based resist): Use the last stencil to apply the resist.
Dip shirt in indigo: I dip the shirt at least 4 times to build the shade I want.
Apply soy milk as a sealer and protection: Make your own soy milk and apply it to the shirts. This helps prevent ozone damage.